
How to Accept Deposits in WooCommerce: A Step-by-Step Guide
Set up a 30% WooCommerce deposit without code, invoice the remaining balance, and avoid common partial-payment mistakes.
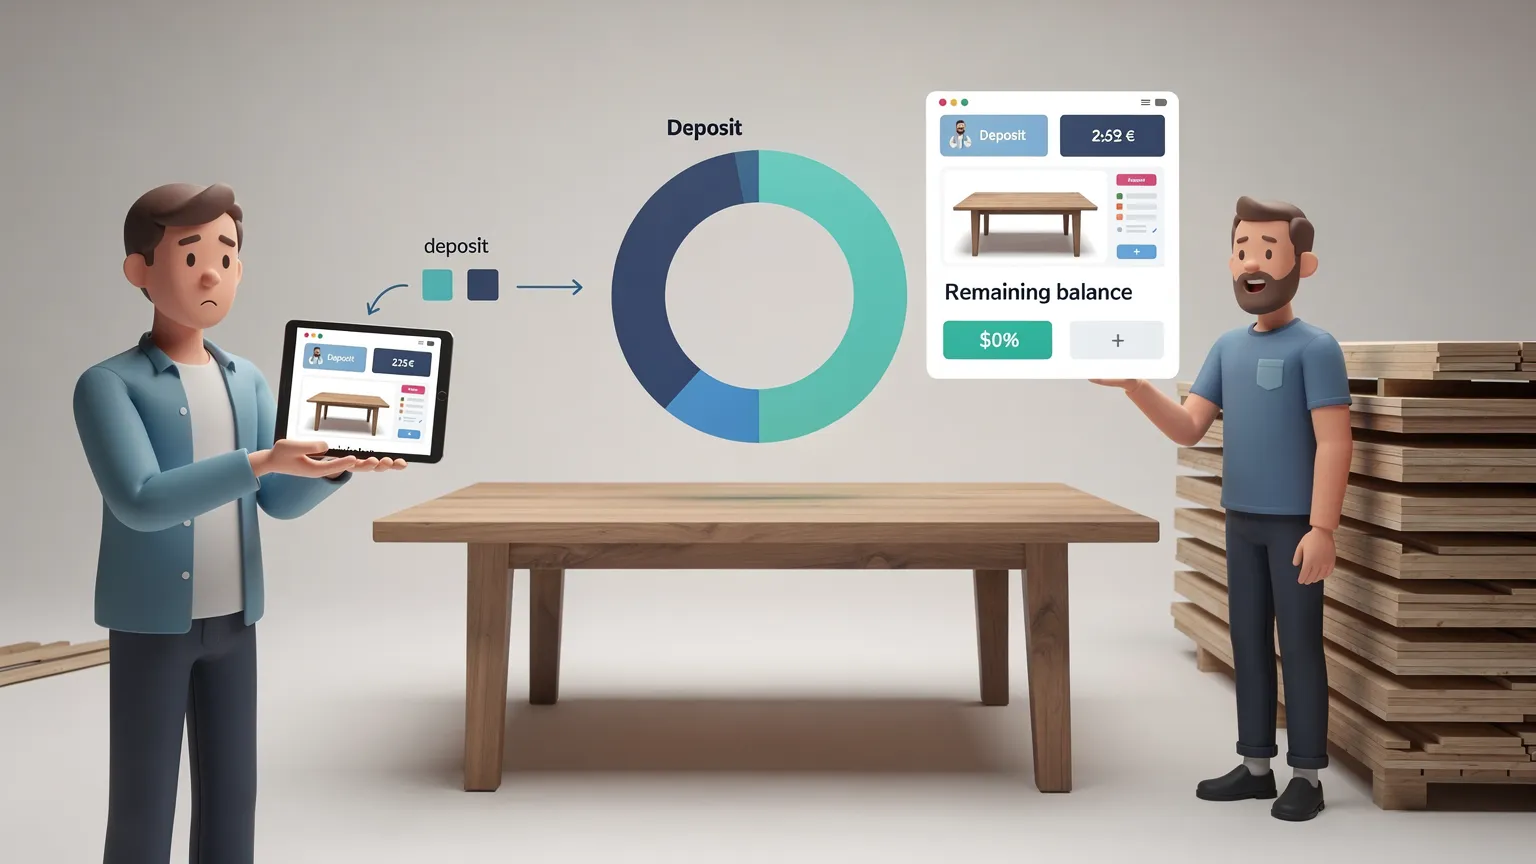
A customer wants to order a €600 custom-made table, but paying the full amount before production feels like a big commitment. You, the merchant, need enough money upfront to reserve materials. A 30% deposit solves the immediate problem: the customer pays €180 today, with €420 due later.
WooCommerce does not offer a full deposit-and-balance workflow out of the box. This guide shows how to set one up without writing code, using WooCommerce Deposits, a paid extension sold on WooCommerce Marketplace. It also explains an important limitation before you buy: the extension does not automatically charge the remaining balance.
Some links are affiliate links: CeiKay may earn a commission at no extra cost to you.
1. Choose the right deposit arrangement
| Business need | Recommended setting | Example |
|---|---|---|
| Made-to-order furniture | Required percentage deposit | 30% upfront, 70% later |
| Custom artwork | Fixed deposit | €100 upfront on a €450 order |
| High-value product | Optional deposit | Customer chooses deposit or full payment |
| Event or appointment booked through WooCommerce Bookings | Deposit on bookable product | Reserve now, pay balance later |
| Automatic monthly subscription | Not WooCommerce Deposits | Use a recurring-billing solution instead |
| Refundable damage/security deposit | Not WooCommerce Deposits | Use a purpose-built security-deposit workflow |
Decide whether the deposit should be required or optional. For made-to-order products, requiring a deposit can protect your production schedule. For standard stock, letting customers pay in full may be simpler.
Before buying: WooCommerce Deposits is a commercial extension. Check its current price, renewal terms, compatibility, and refund policy on the official marketplace. You should also confirm that your payment gateway works correctly with your store's checkout.
2. Install WooCommerce Deposits
You need a working WordPress website with WooCommerce installed and a payment method configured. Use a staging store if you have one; otherwise test with a private product before enabling deposits on a live best-seller.
- Open the official WooCommerce Deposits product listing in WooCommerce Marketplace and review the requirements.
- Purchase the extension if it meets your needs.
- Download its ZIP package from your WooCommerce account.
- In WordPress, open Plugins → Add New Plugin → Upload Plugin.
- Select the ZIP file, choose Install Now, then Activate Plugin.
- Open WooCommerce → Settings → Products → Deposits to confirm the new settings are available.
If the Deposits tab is missing, check that the plugin is active, your WooCommerce and WordPress versions satisfy the listed requirements, and the extension is the official WooCommerce Deposits product rather than another similarly named plugin.
3. Require a 30% deposit on one product
Let's configure a made-to-order table costing €600, while leaving all other products unchanged.
- In WordPress, open Products → All Products and edit the table.
- Confirm the regular product price is €600.
- In Product data, open the Deposits tab.
- Enable custom deposit settings for this product.
- Set the deposit option to Required.
- Select Percentage as the deposit type.
- Enter 30 as the deposit amount (without a percent sign).
- Update the product.
Now visit its public product page. The deposit should be shown as the amount due immediately, rather than requiring the full €600 at checkout. The expected arithmetic is:
| Item | Amount |
|---|---|
| Product price | €600 |
| Deposit (30%) | €180 |
| Remaining balance (70%) | €420 |
The final checkout amount may also reflect taxes, shipping, discounts or fees, depending on your store settings. Do not promise customers that the balance is automatically charged: they must complete the follow-up payment when invoiced.
If you want to offer Pay Deposit or Pay in Full, choose Optional instead of Required, and select the default choice customers will see.
4. Enable deposits across the whole store, if needed
If you sell many made-to-order items, a storewide default can save time.
- Go to WooCommerce → Settings → Products → Deposits.
- Choose Yes – Deposits are Optional or Yes – Deposits are Required under the default enablement setting.
- Select Percentage, Fixed Amount, or Payment Plan.
- Enter the default deposit amount and save changes.
- Revisit products that should not accept deposits and override the default in their individual Deposits tab.
Recommendation: If only a handful of products need deposits, keep the storewide default disabled and configure each relevant product separately. This prevents accidental deposit options on low-cost items or products that should be paid in full.
5. Offer two payments instead of one deposit and a balance
For a planned schedule, WooCommerce Deposits supports payment plans.
- Open Products → Payment Plans.
- Enter a clear plan name such as 30% now, 70% after 30 days.
- Add a first schedule row for 30%, due Immediately.
- Add a second row for 70%, due After 1 Month (or the interval appropriate for your contract).
- Check that the schedule totals 100%.
- Save the plan, then select it for the relevant product in its deposit settings.
The payment plan creates scheduled follow-up orders. It does not store card details or automatically debit the customer's card. Customers pay outstanding invoices themselves. This is an essential difference from subscription billing or automatic installments.
For services with unpredictable completion dates, a simple deposit followed by a manually issued balance invoice may be easier to manage than a fixed calendar schedule.
6. Collect the remaining €420
After the customer pays the €180 deposit, WooCommerce records the order as partially paid.
- Go to WooCommerce → Orders and open the order.
- Verify that the deposit payment was actually received.
- When the balance is due, use Invoice Remaining Balance on the order to create the balance order.
- Send the customer the payment request and verify that the invoice includes the correct amount.
- When the customer pays, check the payment status and the original order.
For a scheduled payment plan, WooCommerce creates separate scheduled orders and invoices for later installments. Customers can review upcoming payments in My Account.
If the customer pays the remainder outside your online payment gateway, record the payment appropriately using Mark Paid (offline). Do not mark an order paid merely because an invoice was sent.
7. Test the checkout before offering deposits to real customers
Use a low-risk test product and, where supported, your payment provider's test mode. Check the complete flow:
| Test | What to verify |
|---|---|
| Product page | Deposit amount and full-price option appear as configured |
| Cart | Amount due today is understandable |
| Checkout | Payment method accepts the deposit |
| Confirmation | Customer email and order reflect partial payment |
| WooCommerce Orders | Original order shows the correct deposit status |
| Balance invoice | Remaining amount is correct and payable |
| Mobile checkout | Deposit choice and totals are readable on a phone |
Common problems and fixes
- Deposit option does not appear: Check the product's Deposits settings, any storewide override, plugin activation, and caches.
- Wrong amount is due today: Check the percentage, tax rules, shipping and coupons. Recalculate using a simple product first.
- Customer expects an automatic second charge: Explain the manual invoice flow before checkout; this extension does not perform automatic collection.
- Payment method fails: Test with another supported gateway and review the checkout error logs; gateway minimum transaction amounts can also matter.
- Balance cannot be invoiced: Check whether the deposit has actually been paid and whether the order already has a balance invoice.

8. Is WooCommerce Deposits worth buying?
It is a sensible option when you already use WooCommerce and need partial payment on specific products, a straightforward deposit policy, and a manageable number of later invoices.
It may be a poor fit if you need automatic collection of installments, recurring subscriptions, refundable security deposits, or compatibility with an extension that WooCommerce Deposits explicitly excludes. Read the compatibility list carefully before purchasing. The official product page currently lists a paid annual license; avoid relying on a price quoted in an old tutorial.
A practical rule: if your main goal is 30% upfront on a custom order and a balance invoice later, WooCommerce Deposits fits that workflow. If your main goal is hands-off automatic billing every month, look for a different tool.
9. Frequently asked questions
Can customers pay the full price instead?
Yes, when you configure deposits as Optional. Required deposits remove that choice for the affected product.
Can I use a fixed €100 deposit instead of a percentage?
Yes. Select Fixed Amount for the product or storewide setting.
Does the plugin work with product variations?
Yes, with support for variation-level overrides. Test each variation's price and deposit calculation.
Does it automatically charge the remaining balance?
No. It creates or schedules balance-payment orders and invoices, but does not store payment cards or automatically charge them.
Can I use it for a refundable rental security deposit?
No. It is designed for partial payment toward a purchase, not a refundable damage deposit.
Do I need to change server files or run commands?
No. The setup described here uses the WordPress and WooCommerce administration screens.
Next step
Start with one product, confirm the deposit and invoice flow, then expand to the rest of your catalog only when the test order works end to end. A deposit should make checkout clearer—not create unexpected payment obligations for your customers.